


I keep thinking that if someone else I knew did a renovation I would be curious to see the pictures of the final product, but I am an especially curious person. I also realize that my OCD tendencies are making me ache for an organized and comprehensive view of everything we just went through, aka this blog post. So maybe this post isn't as exciting as I feel like it is, but here it is anyway! My descriptions and subsequent babbling are mainly for my own benefit, so feel free to just look at the pictures and pretend all the text isn't there. :)
We started planning for this back in Altus while we were house hunting. We looked at new homes in the suburbs, but something just kept holding us back. When we decided we really wanted to live in Tacoma, it turned out that we weren't going to find anything newer in our price range. I was super excited at the possibility of having a home to add our own finishes to without having to do major major repairs and Mitch seemed to be on board with my aspirations as well. When we bought our house we knew we would want to do a kitchen remodel, so we made the commitment to save up all the money we were making from moving ourselves across the country to make it happen. Thanks to that and Mitch going on a lot of trips, our dream became a reality.
When they show you renovations on HGTV there always seems to be something unexpected that throws off the whole renovation plan and budget. Our house was built in 1961 and we figured the chances of something coming up were decently high, so we made sure to have some wiggle room. We got a few estimates from contractors, shopped around at IKEA and other cabinet stores, and ran through all our options for appliances before committing to the renovation. All of this beforehand shopping around and research took us about two months, but it was the most valuable thing we did. Everything led us to NW Homeworks as our contractor, IKEA cabinets and counters, and Lowe's appliances.
Tim, the owner of NW Homeworks, was really reasonable with his estimates, flexible with us wanting to help, and very nice to me as I asked about every detail. And I asked a LOT. We were able to purchase everything from IKEA during one of their famous kitchen sales (10% off $3500 or more, 20% off $4500 or more), so that helped a lot! If you ever decide that IKEA is for your kitchen renovation needs, wait for this sale!! And finally, Lowe's had a special running of 10% extra off appliances and all the appliances we bought were also on sale, plus we get a military discount there. We ended up checking on the appliances for the next 30 days after we purchased them because Lowe's will credit you the difference if they go on sale within that time. We ended up getting $60 back on our oven thanks to our diligence! We actually got the microwave at Best Buy because I happened to find our microwave on display model clearance while I was there for a phone repair. It had one tiny mark on it but was $150 cheaper than its packaged counterpart. A major score! Have I emphasized the importance of shopping around enough yet?? You just never know where you will find deals!
Now for some pictures!
Here are the pictures before:
 |
| Hallway View Before |
 |
| Dining Room View Before |
 |
| Whole View Before |


When we decided to go with IKEA, it actually made for a whole lot more research. Since a lot of people have done it at this point and the internet is a vast wealth of information, we searched out what other people said they wish they would have known before. The top pieces of advice we got were--
1. Buy your kitchen during the kitchen sale. When we first started looking the sale wasn't going on, fortunately we took a lot of time with our research and then it started by the time we were ready!
2. Have IKEA pick and deliver the cabinets because they come in so many different boxes and then IKEA is accountable for anything missing from your order on delivery.
3. If you are even a tiny bit handy and can watch YouTube videos, you can assemble the cabinets yourself to save money. I did this and it was fun! The only thing I will say is that it would have been worth it to buy a nail gun. So many nails! Also, I am very proud to report that this endeavor was all blood and sweat, no tears. And actually very little blood, just a few cuts. :)
And for my piece of added advice-
4. Go through your item list and make a spreadsheet of all the items they will be delivering. Once you have entered them, sort by item number. It will be SUPER easy to check off as they unload this way. Unfortunately I made the spreadsheet after I got frustrated trying to sort everything to account for it, but it worked out.
 |
| The mass of our boxed kitchen! |
 |
| Sorted delivery! |
 |
| Assembling the huge pantry cabinet! |
 |
| Assembled cabinets waiting for install :) |
We had originally told our contractor that we wanted to do the demolition of the cabinets ourselves to save on that money, but we had to leave a little bit for them. Mitch had to leave for a trip and we really just weren't equipped to remove all the base cabinets without causing more damage. Once they got started, it moved super quickly! Fortunately we never ran into any major issues. I was worried about removing both of the walls and electrical issues with an old house, but it was all fine.
Demolition pictures:


 |
| Walls coming down! |
 |
| My quality assurance inspector ;) |
 |
| The dogs didn't like this always blowing around! |
 |
| Mess after the electrician re-wired it all |
 |
| Troopers :) |
 |
| After the electric was all re-run and walls were patched |
 |
| After the ceiling and walls were textured to match the rest of the room |
 |
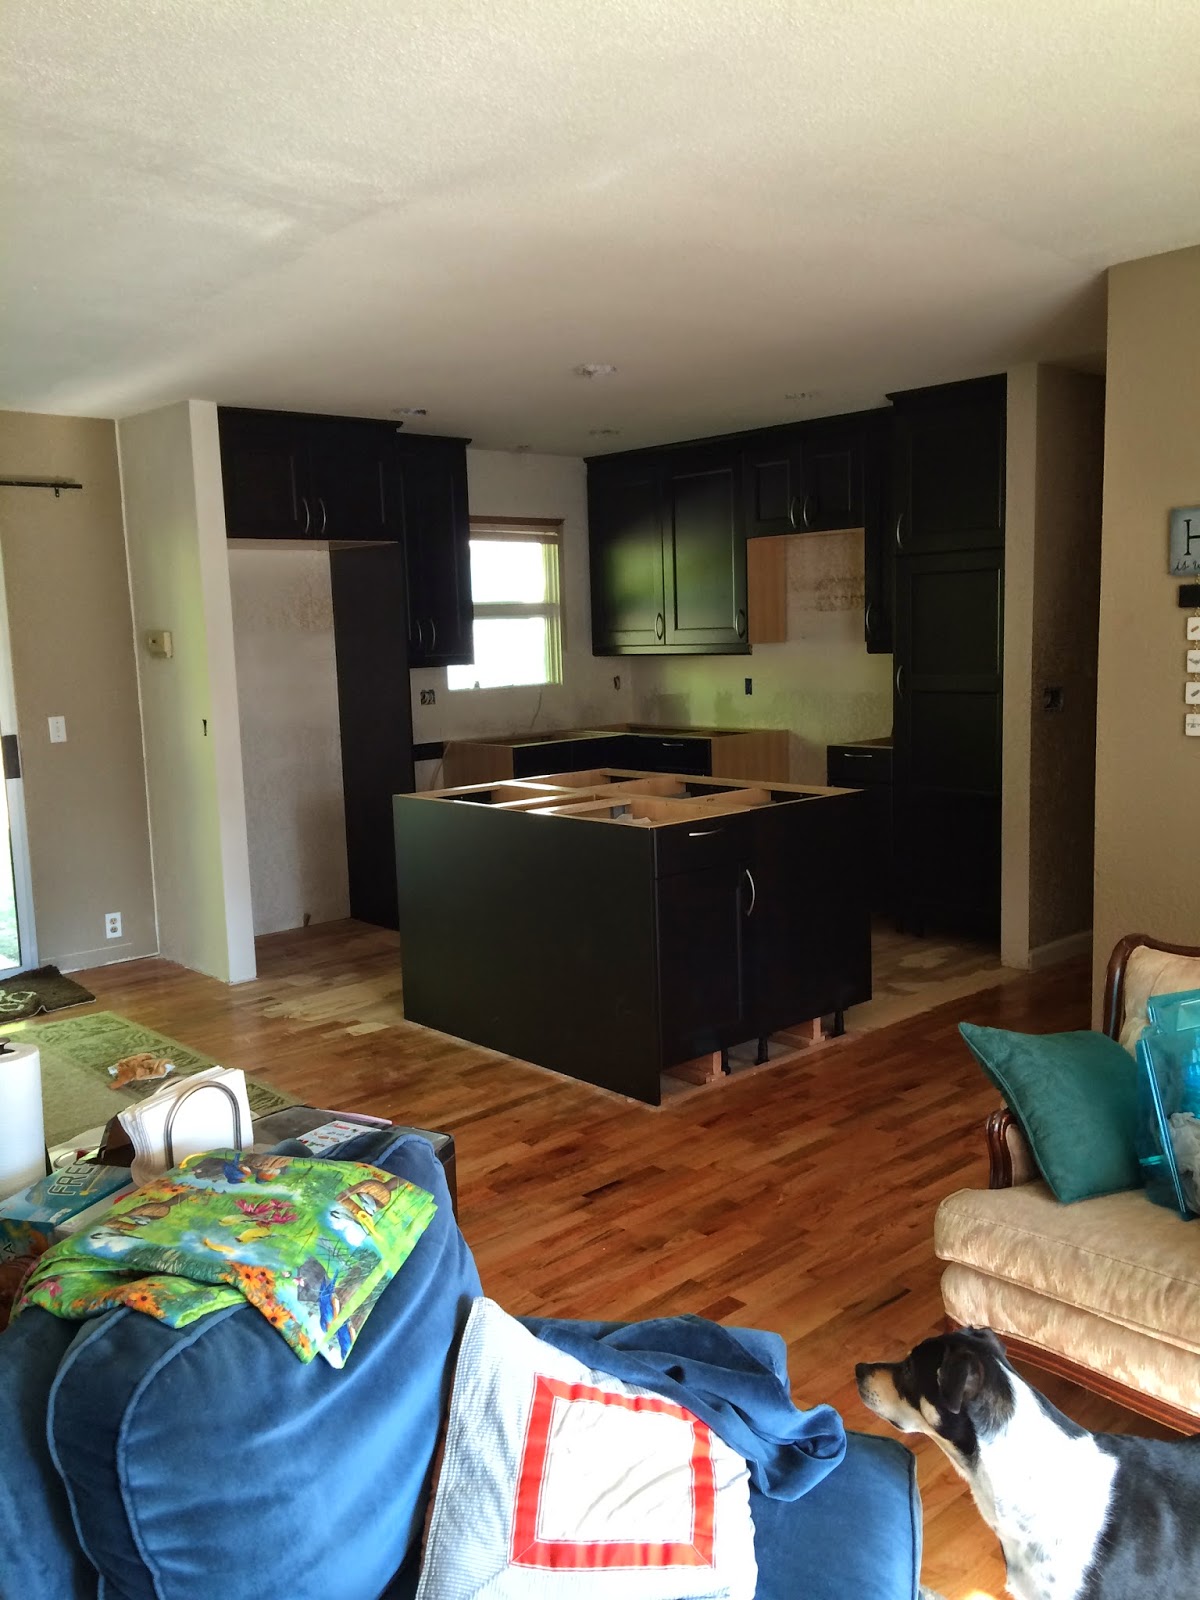
| Leveling, installing handles, and adjusting doors |
 |
| All installed! |

 |
| Insane amount of stuff shoved down here! |
 |
| Our bedroom/living room/dining room/kitchen/office ;) |
 |
| We also had them fix the landing that was in bad shape. Stairs are a project for another day! |
 |
| After! |
 |
| After! |

 |
| OCD me wanted it all to be painted even though it was going to be covered with backsplash! |

 |
| :) |
We knew when we ordered everything that the counter tops would take awhile if we went with IKEA. We decided the savings was worth it since they were included as part of the sale, even though they are done by a different company. There was an awful mix up about the scheduling and so even though we were ready for them to template by June 1st, they weren't able to come until June 13th. Then it's a 2 week wait until install from that time. Ugh. But fortunately it did all end up working out in the end, despite the hiccups we had with them along the way. I will say I was really mad for awhile and considered writing to their corporate office about how our experience with their company was, but then they changed my mind. When our contractor was going to install our dishwasher they noticed that we never had our mounting bracket installed by the countertop people for it. Our dishwasher is only a top mount, so it had to be there. I was so annoyed and we called them and the guy who handles it was on the other line so the receptionist said she would have him call us right back. Well we waited a few hours and never got a call. After reading through the paperwork it said that after you sign off on the install you are basically S.O.L. in the, "Oops, we didn't notice that!", department. According to the documents we had it would be a $225 fee for them to come back out and I wasn't even sure that it would happen anytime soon since their scheduling is so far out. I ended up ordering a mounting bracket on Amazon and our contractor said they would come back out when it arrived and install it for us and get the dishwasher good to go. It wasn't ideal, but it was a solution. About two hours after I ordered the bracket the counter top guy called me back and said he was sorry for the confusion, they should have installed it, and he will send someone out in a couple hours who was headed our way anyway to get it installed.
....
....
What?!
Needless to say I couldn't believe it.
Anyway, to finish this long story, apparently they thought Mitch told them we had a side mount dishwasher, not a top mount. Though, Mitch says they never asked him. Oh well. The point is that they came out and did it, we didn't get charged, and it was in a super timely manner. I have since decided that their valiant effort to help get our kitchen finished after all that waiting was enough to make me hold my tongue. You win some, you lose some, and apparently sometimes you even tie some.
So the counter tops got installed, then the backsplash got installed, then the appliances got installed...


FINALLY.
The end result:


And a few before-after pairings for fun:


:) The end.
Wow! This is incredible! It's so cool that you guys played such a big role in these rennovations. It's the best way to save money and to apply your own creativity. Pedro and I haven't bought our first house yet, but we're shopping around and we've always said we wanted one that needed work done so we can buy it cheaper and then make it our own. I loved reading this as inspiration for our future endeavors. It can be done! Your kitchen is a dream kitchen now. So happy for you guys! Thanks for the tips on shopping around and making a spreadsheet and everything. I can't wait to do something like this.
ReplyDeleteHow have I not commented on this yet? Your kitchen makeover is incredible. I love a good before and after photo! It's like a little bit of relief or something. Which is funny because it's not like it's my space! Anyway I love it. Totally worth all the work and time put in!
ReplyDelete